


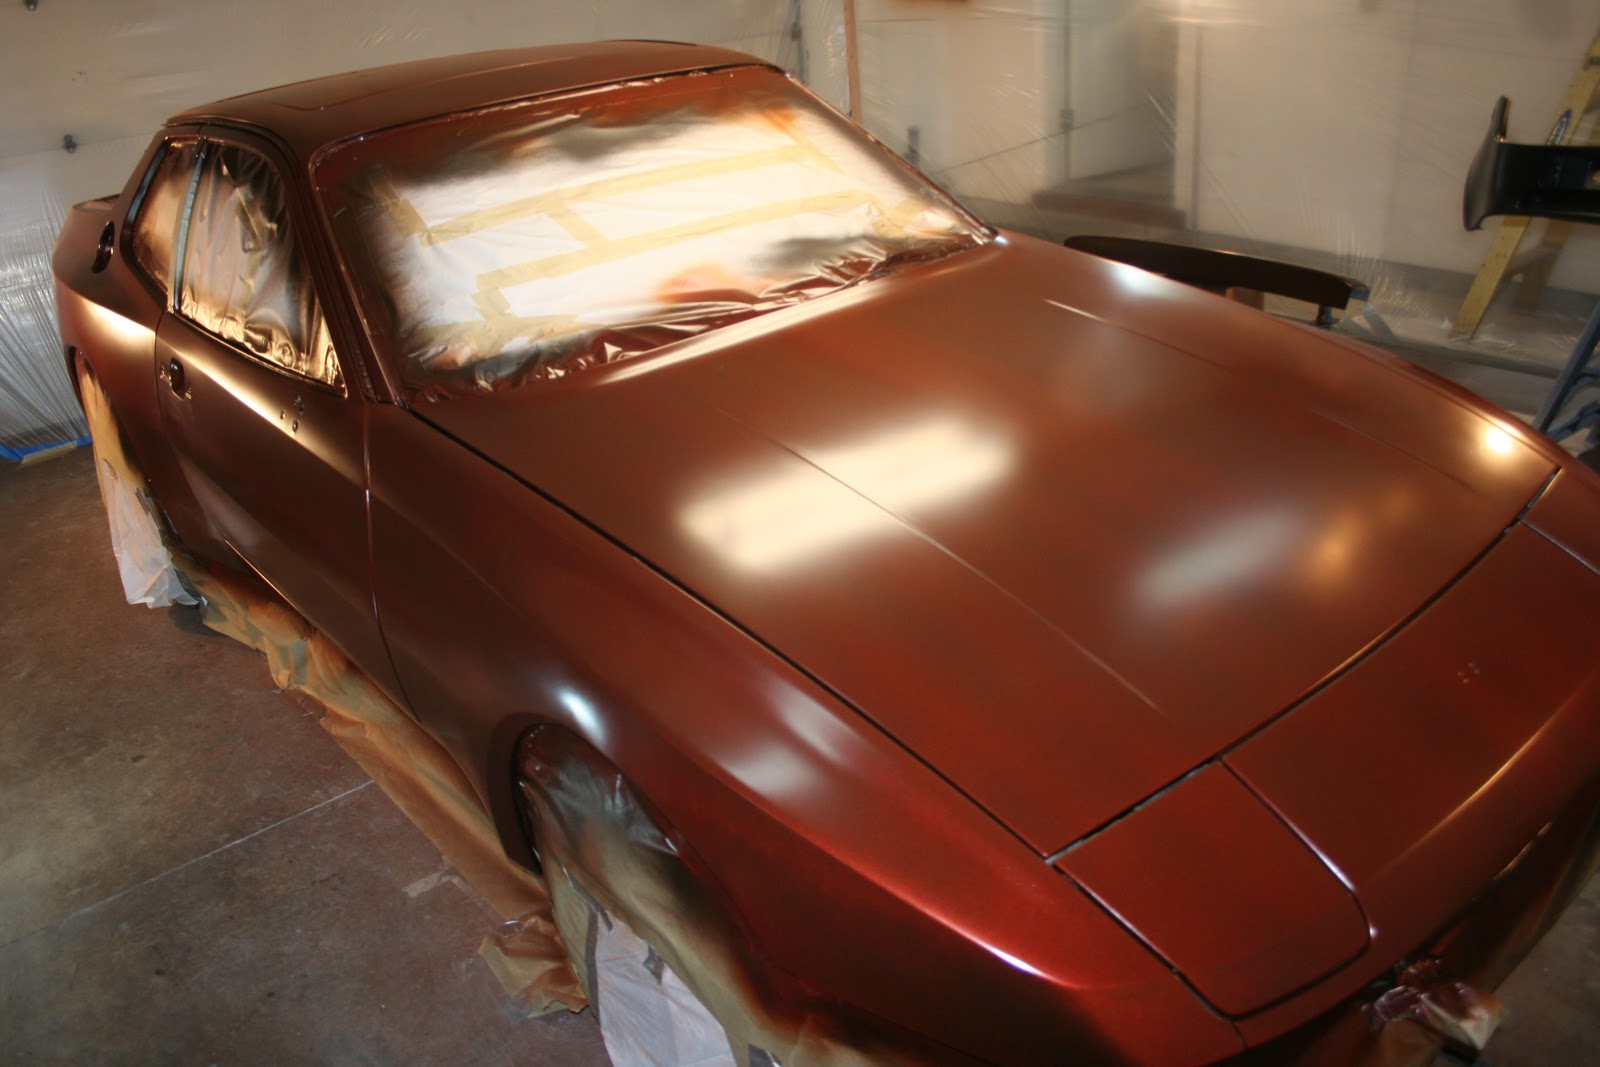
Finally! After 164 hours of prep, the moment of truth has arrived. Since the car had only been sitting in the near dust free environment since praying the sealer, and not exposed to wax or grease, there is no need to clean again. I just had to dust off the car using a tack rag. There was a surprising amount of dust from dry over-spray that was floating around the booth and landed on the flat surfaces of the car. The tack rag made quick work of it, but turned pretty black in the process. Here you can see the first coat in the middle of application. The roof and hood and pillars are done, but I haven't made the long pass down the side yet:

The color went on smooth and easy, and it looked like root-beer after the first coat. The metallic was nearly transparent and the black showed through wherever there wasn't light reflecting off the paint. Here you can see the rear of the car, where the fender is lit it looks orange, while lower down the bottom of the car doesn't catch the light and looks black still:

Because the paint goes on so thin, there is pretty noticeable banding where my overlaps weren't perfect. I'm 6'2" and it was a tough stretch to lift a full spray gun out over this massive hood from the side.

Here's a better angle on the hood. (I still haven't painted the driver's side of the car yet.) I was originally thinking of spraying some gold pearl over the finished paint, and it would probably turn out about this stripey.

This is the front of the car after the second coat, after letting the paint flash dry. I paint pretty slow, so the car was hand-slick by the time I was done with the first coat of the car and all the parts. The banding is still there, but is less substantial after this second coat. You can really see the color starting to come out.
This is the side-mirror after just one coat. I like this picture because you can really see how smooth the texture of this paint is with the light reflecting the way it is. Very glassy, though it dries to a matte finish in just 20 minutes or so.

I had a few spots where I put the paint on a little too thick and the paint sagged. Here you can see I've wet-sanded with a stiff block and 600 grit through the sag until it was all smooth again, even if it looks bad. You can just make out the line of the drip; It is the wavy lighter-orange line in the middle of the darker spot on the body line. I'll spot-paint over just this area again before the next coat.

Here you can see the sunroof has some slight banding as well, but is starting to get good coverage. This photo was taken after the paint here had flashed dry and it already looks very matte.

Here is a panorama of stitched together photos of the Porsche in the booth. This is after the 3rd coat to the whole car. You can just make out the slightest hint of banding in the center of the hood by the windshield.

I started out with 5 quarts of paint, after mixing, at a total cost of $275. Here is how much paint it took:
Quart 1: Roof, pillars, hood, passenger side
Quart 2: Driver side, tail, all parts (spoiler, bumpers, mirrors, gas cap)
Quart 3: Roof, pillars, hood, driver side,
Quart 4: Passenger side, tail, roof, pillars
Quart 5: Hood, both sides, and tail
I had just enough for 3 full coats to the car, but stopped painting all the other parts after the first coat realizing I wouldn't have enough paint for everything. I will have to pick up some more tomorrow to put two more coats on the parts, and maybe one more coat on the hood to cover up the last evidence of banding.
One big mistake I made was painting today when the temperature was pretty cool outside (50'ish). I had a heater on in the garage to keep the temperature at 70 degrees, but didn't want to vent the air out of the warm booth to outside the garage, because this would have required pulling more cold air into the garage from outside. I instead decided to keep the garage shut, and just vent the air out of my booth, to the closed garage, and keep it recirculating since all the garage air was nice and warm.
There were two things I didn't forsee. One, everything in the garage got a nice orange mist of dried paint dust on it. Some of it which had vented to the garage blew back in through the fans and made a fine layer of dust on the surfaces I was painting, which required extra tack ragging before spraying each new panel or part. Here you can see the fans and filters coated in paint dust recirculated back from outside the booth:


The other thing that caught me by surprise was my raging headache by the end of my painting session. There was no outlet for the fumes from the spray and they build up enough to saturate my organic vapor filter mask and the atmosphere without my mask was eye-watering. I had to open up the garage for a full day to air out the fumes before I could go back inside again, and I had to buy new filters for my mask.
Mental note: next time, vent to the outside of the garage, regardless of temperature.
Total time spent: 5 hours (1 hr: tack and prep; 3 hrs: painting; 1 hr: cleanup)
Total money spent: $275
Terimakasih informasinya gan Obat Pendarahan Pasca Kuret
ReplyDeleteTerimakasih informasinya Obat Pembersih Rahim Setelah Keguguran
ReplyDeleteSangat menarik sekali Obat Pendarahan Di Lambung
ReplyDeleteYou can do masking door jambs, soft paint edge, trunk masking there are many other uses for Tube Tape.
ReplyDeleteI'm impressed! I must say that the information is Extremely useful and very engaging. Keep writing.Many many thanks and best of luck for your upcoming blogs.
ReplyDeleteA guide to windshield