
I was surprised being outside the booth how murky the plastic has become since I built it a few days ago, from all the paint over-spray and dust. I can't imagine how they keep permanent booths clean:

I got right down to spraying the clear. I used the same techniques as before, and was far more careful with my hose this time. It was even harder with the clear to see where I'd just sprayed and where I hadn't. I had every light available going, and still had a hard time seeing. For lights, I had my 4 bulb fluorescent, the two standard ceiling fluorecents from the garage, a 1x500w halogen work-light, a 1x250 halogen work-light, a 2x300 halogen work-light, 4 floor lamps with 100w bulbs, and a hanging lamp with sixteen 60w bulbs (seen in pic above). I really wish I had about 10 of the 2x500 halogen work-lights. I wonder if Home Depot rents work-lights. Anyway, here is me spraying some clear on the car. You can see how glassy and reflective it is when wet:

The clear-coat I am spraying is ACME Finish 1 Ulimate Overall Clearcoat (FC720, 1 gallon, $79), which is mixed four parts to one part of ACME Finish 1 Medium Hardener (FH612, 1 quart $33).
It took just under 48 oz to do the whole car and the rain rails, then just over 16 oz. to do all of the other parts (bumpers, mirrors, spoiler, bumper corners, gas cap). It took about 1 hour to spray the first coat, plus another half hour right before spraying to gently tack rag off the dust from the parts getting sprayed.
I repeated the whole process over as soon as I was done, by which time everything was hand slick. It took another 1.5 hours for the second thick coat. I ended up left with about a quarter of the clear I bought.
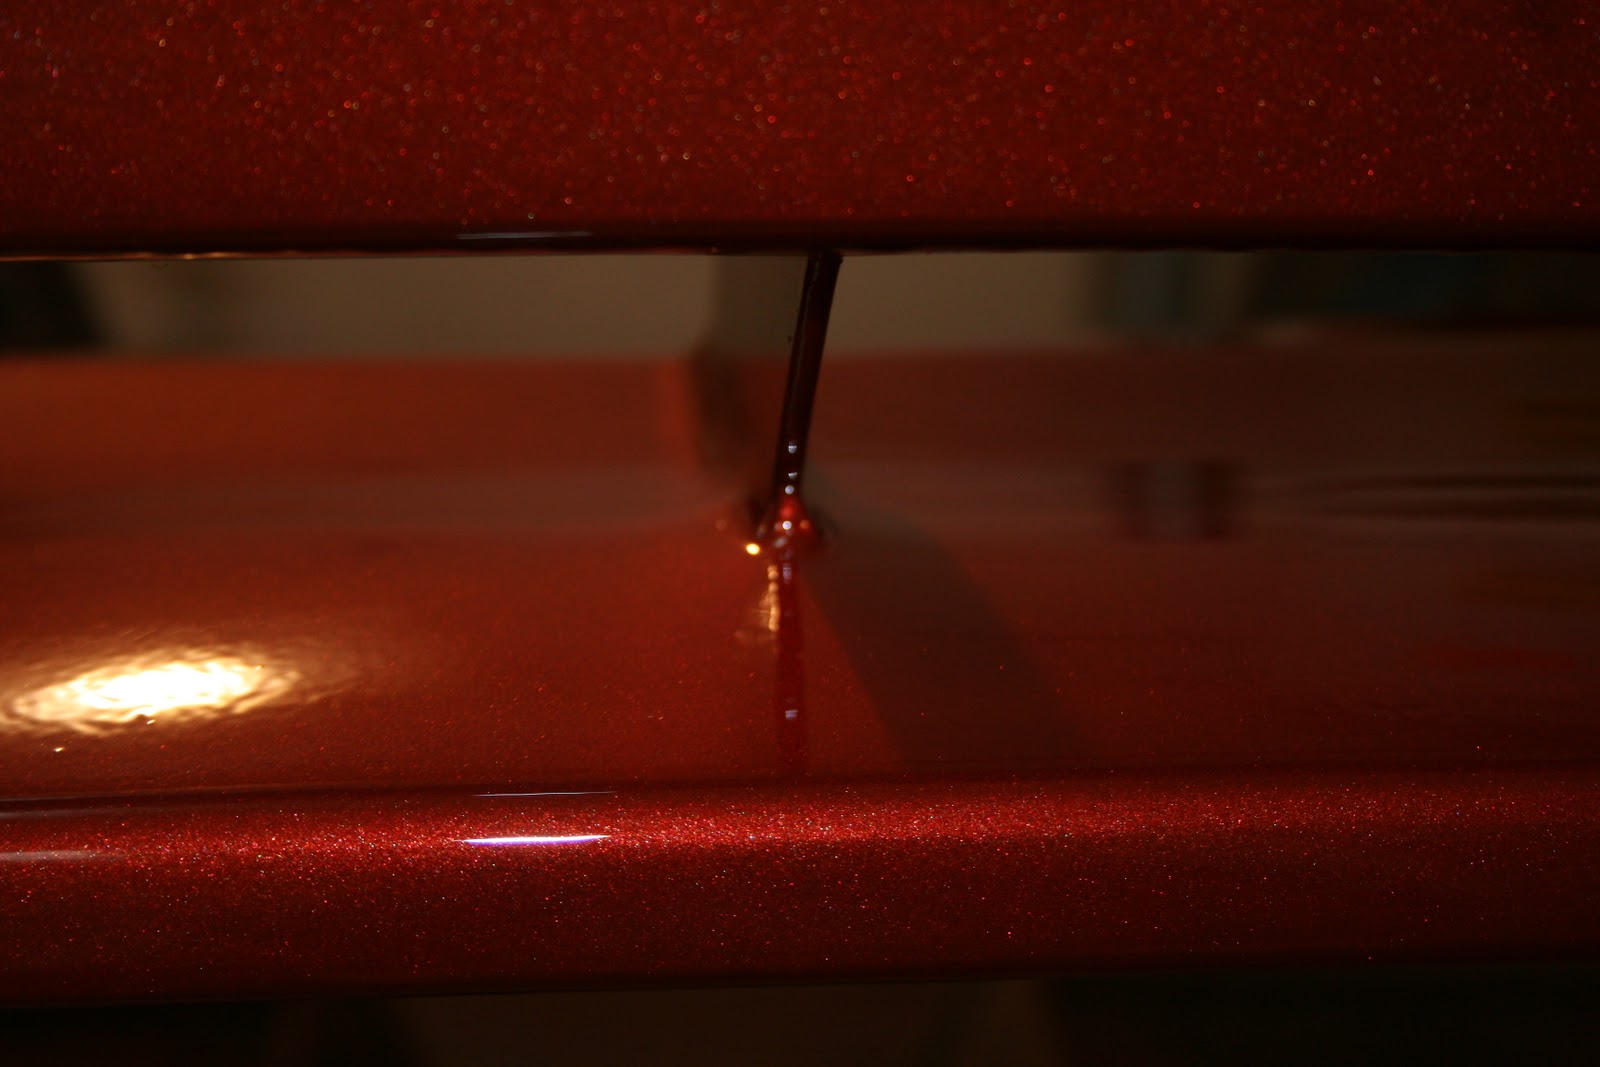
I sprayed all of the clear very thick. I knew that any runs or sags would easily be sanded down and buffed, and wanted nice thick coverage that I can eventually rub down (ie, sand and buff to a perfect gloss) There were several spots where I couldn't see what had already been painted, particularly on the long passes on the side of the car and trying to get good coverage on the door-handle-recesses. But I was totally fine with the runs. We'll see how hard they are to deal with later on.
Here are some pictures of the car in all its wet and shiny splendor:


It looks here like I just sprayed the hood, but these pictures were taken an hour after I finished painting and the paint was already hand slick:

Even the plastic parts look fantastic and shimmery:

This is the section of the front spoiler that I repaired a while back. It looks brand new with the paint all done:

Here are some views of the side of the car. I'm really pleased with how clean the body line turned out after taking off the side strips way back when:


The sunroof looks great now that it is glossy instead of matte:

I kept being super careful not to touch the hood for fear of smearing the wet clearcoat, even after it was dried. It just looks like the clear is still as wet as when I sprayed it:

I can even see myself in the paint, reflected. If you zoom in on this picture you can really see the orange peel that keeps this paint from being perfectly mirror-like. That will get fixed later with the rub-out.

I'm happy to finally be done with all this painting. (Until next week when I have to come back and paint the door jambs and hood edges.)

Final self-portrait, for the record.

Time spent today: 5 hours (1hr. tack ragging and paint prep; 3 hrs spraying clear; 1 hr. gun clean-up)
Total money today: $112 ($79 clear, $33 hardener)
Wow, I had no idea you were doing all this! You should have sent me this link before so I could watch your progress. That color totally reminds me of Kelly Matelski's mom's Toyota Celica, circa 1983.
ReplyDeleteYou are seriously amazing, Ben. I can't believe you can do all that yourself!
Those metallics are amazing! Most excellent work Ben, you should be proud!
ReplyDeleteNice Blog. Here is a link to a troubleshooting guide that will show why you had a couple issues
ReplyDeletehttp://www.sherwin-automotive.com/en/~/media/Sherwin-Williams-Files/Files/Reference/Trouble%20Shooting%20Guide/tsg.ashx
I got that color for my camaro, painting it next week and im stoked.
ReplyDeleteCar's trunk masking, soft paint edge fast and easily and there are many of other uses for tub tape.
ReplyDeleteAmazing ! I want to thank you for enabling me a great read!! I definitely enjoyed every little bit of it.Narration is well ordered and the quality of writing is of high standards.Keep the good work up.
ReplyDeleteRead an interesting Blog on "mobile scratch repair" now